Time needed: 30 minutes
In this step-by-step guide, we’ll install Nextcloud on your Linux server. Nextcloud provides an intuitive website where you can store your files, images, notes, calendars… During this tutorial we’ll install Nginx, PHP8 and a MariaDB database.
- Update your system
Run
sudo apt-get update && sudo apt-get upgradeto update your Linux server. - Installing Nginx
Run
sudo apt-get install nginxto install Nginx. Check if it is running withsudo systemctl status nginx. If you see ‘active’, it’s running. If it’s not running, use thesudo systemctl start nginxcommand. - Test Nginx install
Go to your browser and look up your IP address. Use
ip ato find your IP on your Linux machine. You should see something like this: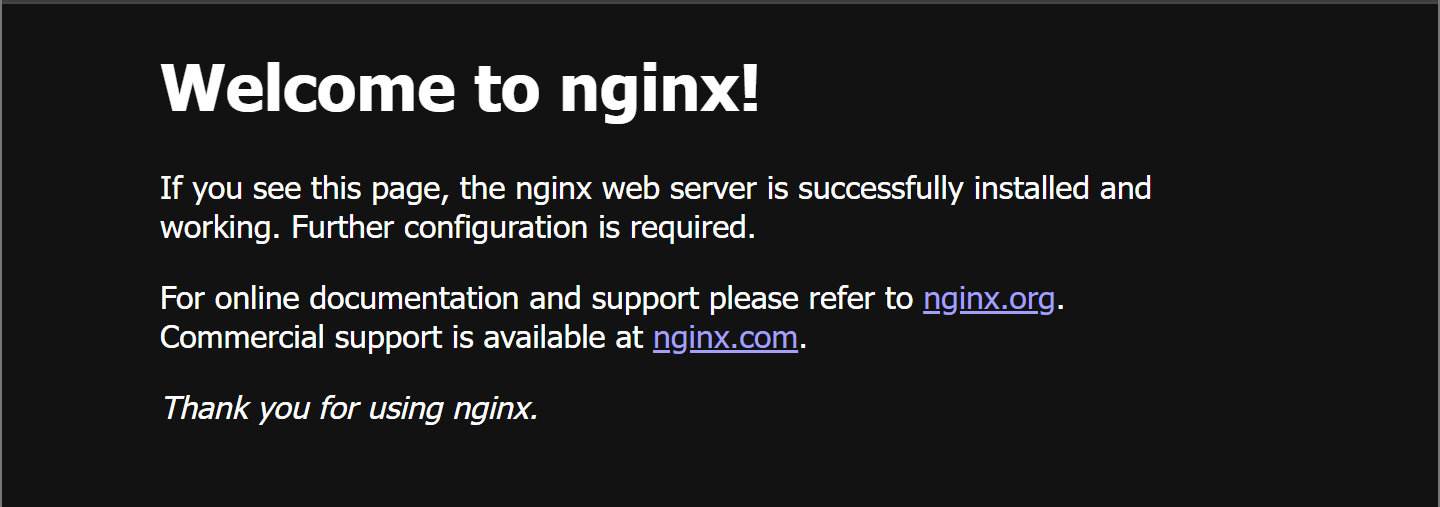
- Installing PHP
We need PHP to run the code of Nextcloud. Alongside the default PHP program, we also need other parts.
sudo apt-get install php8.3
sudo apt-get install php8.3-fpm php8.3-mysql php8.3-cli
sudo apt-get install php8.3-opcache php8.3-readline
sudo apt-get install php8.3-mbstring php8.3-xml php8.3-gd
sudo apt-get install php8.3-curl php-imagick php8.3-zip
sudo apt-get install php8.3-xml php8.3-bz2 php8.3-intl
sudo apt-get install php8.3-bcmath php8.3-gmp
You might see a dialogue box popping up when installing PHP. Select nothing and click ‘<ok>’. There might also be errors about Apache. These may be ignored since we’re not using Apache, but Nginx. - Test PHP
To check if PHP has been successfully installed, run
php -v. You should see the installed PHP version.
- Use PHP
We need to tweak the Nginx configuration in order to run PHP-code. Do
sudo nano /etc/nginx/sites-available/defaultand search for the line# pass PHP scripts to FastCGI server.There, uncomment some parts of the code:
#pass PHP scripts to FastCGI server
location ~ .php$ {
include snippets/fastcgi-php.conf;
#With php-fpm (or other unix sockets):
fastcgi_pass unix:/var/run/php/php8.3-fpm.sock;
#With php-cgi (or other tcp sockets):
#fastcgi_pass 127.0.0.1:9000;
}
Next, close the text editor and save the changes with Ctrl+X and then Y. Finally, runsudo systemctl restart nginxto apply the changes. - Test the Nginx configuration
To test whether Nginx can successfully use PHP, we’ll create a test file. Run the following command
sudo nano /var/www/html/myscript.php. Paste<?php echo "The configuration worked!"; ?>into it and save the file. Next, go to your browser and type your IP address followed by/myscript.php. You’ll know it’s working when you see “The configuration worked!” message
- Installing MariaDB
To install MariaDB, run the following commands:
sudo apt-get install mariadb-serverandsudo apt-get install mariadb-client. Verify that it works:sudo systemctl status mariadb - Configuring MariaDB
Since all our data is stored in this database, we need to ensure proper security. Run
sudo mysql_secure_installationto run a secure installation script.
When prompted to enter the current root password, press Enter. When prompted to set the root password, press Y. You may also be prompted with the following questions:Unix socket authentication? [Y/n] n
Remove anonymous users? [Y/n] n
Disallow root login remotely? [Y/n] n
Remove test database and access to it? [Y/n] n
Reload privilege tables now? [Y/n] Y - Logging into MariaDB
We need to log into MariaDB, so we can create our Nextcloud database where all of our files will be stored. Run:
sudo mysql -u root -pto log in. - Create Nextcloud Database
Run the following commands:
CREATE DATABASE nextcloud;
CREATE USER 'nextuser'@'localhost' IDENTIFIED BY 'yourDBpasswordForNextCloud';
GRANT ALL PRIVILEGES ON nextcloud.* TO 'nextuser'@'localhost';
FLUSH PRIVILEGES;
Afterwards, runexitto leave MariaDB. - Letting Nginx serve Nextcloud
Now, we need to specify that requests from a specific URL or IP needs to be send to the Nextcloud files. Run:
sudo nano /etc/nginx/conf.d/nextcloud.confand paste the code at the end of the file. When saved, runsudo nginx -tto verify that there are no mistakes. If there are no errors, reload Nginxsudo systemctl restart nginx
- Installing Nextcloud
We’re finally going to install Nextcloud! Go to your home directory with
cdand runwget https://download.nextcloud.com/server/releases/latest.zipto download the latest Nextcloud install. Then, unzip it and place it in your website’s folder using:sudo unzip latest.zip -d /var/www/. If unzip isn’t found, install it usingsudo apt-get install unzip - Configuring Nginx to serve Nextcloud
Now, we need to configure Nginx to serve Nextcloud. Go to the Nginx configuration folder with
cd /etc/nginx/sites-available. There, we will back up our default configuration usingsudo mv default default.bak. Lastly, we’ll replace our default configuration file with the Nextcloud configuration file using the commandsudo cp ../conf.d/nextcloud.conf default. - Setting permission
We need to change the permission from the normal/root user on your linux server to www-data. To do this, run
sudo chown -R www-data:www-data /var/www/nextcloud. Afterwards, you should restart Nginx again withsudo systemctl restart nginx. - Setting up Nextcloud
Go to the browser and type in your domain/IP. If everything works, you should be greeted with an installation page.
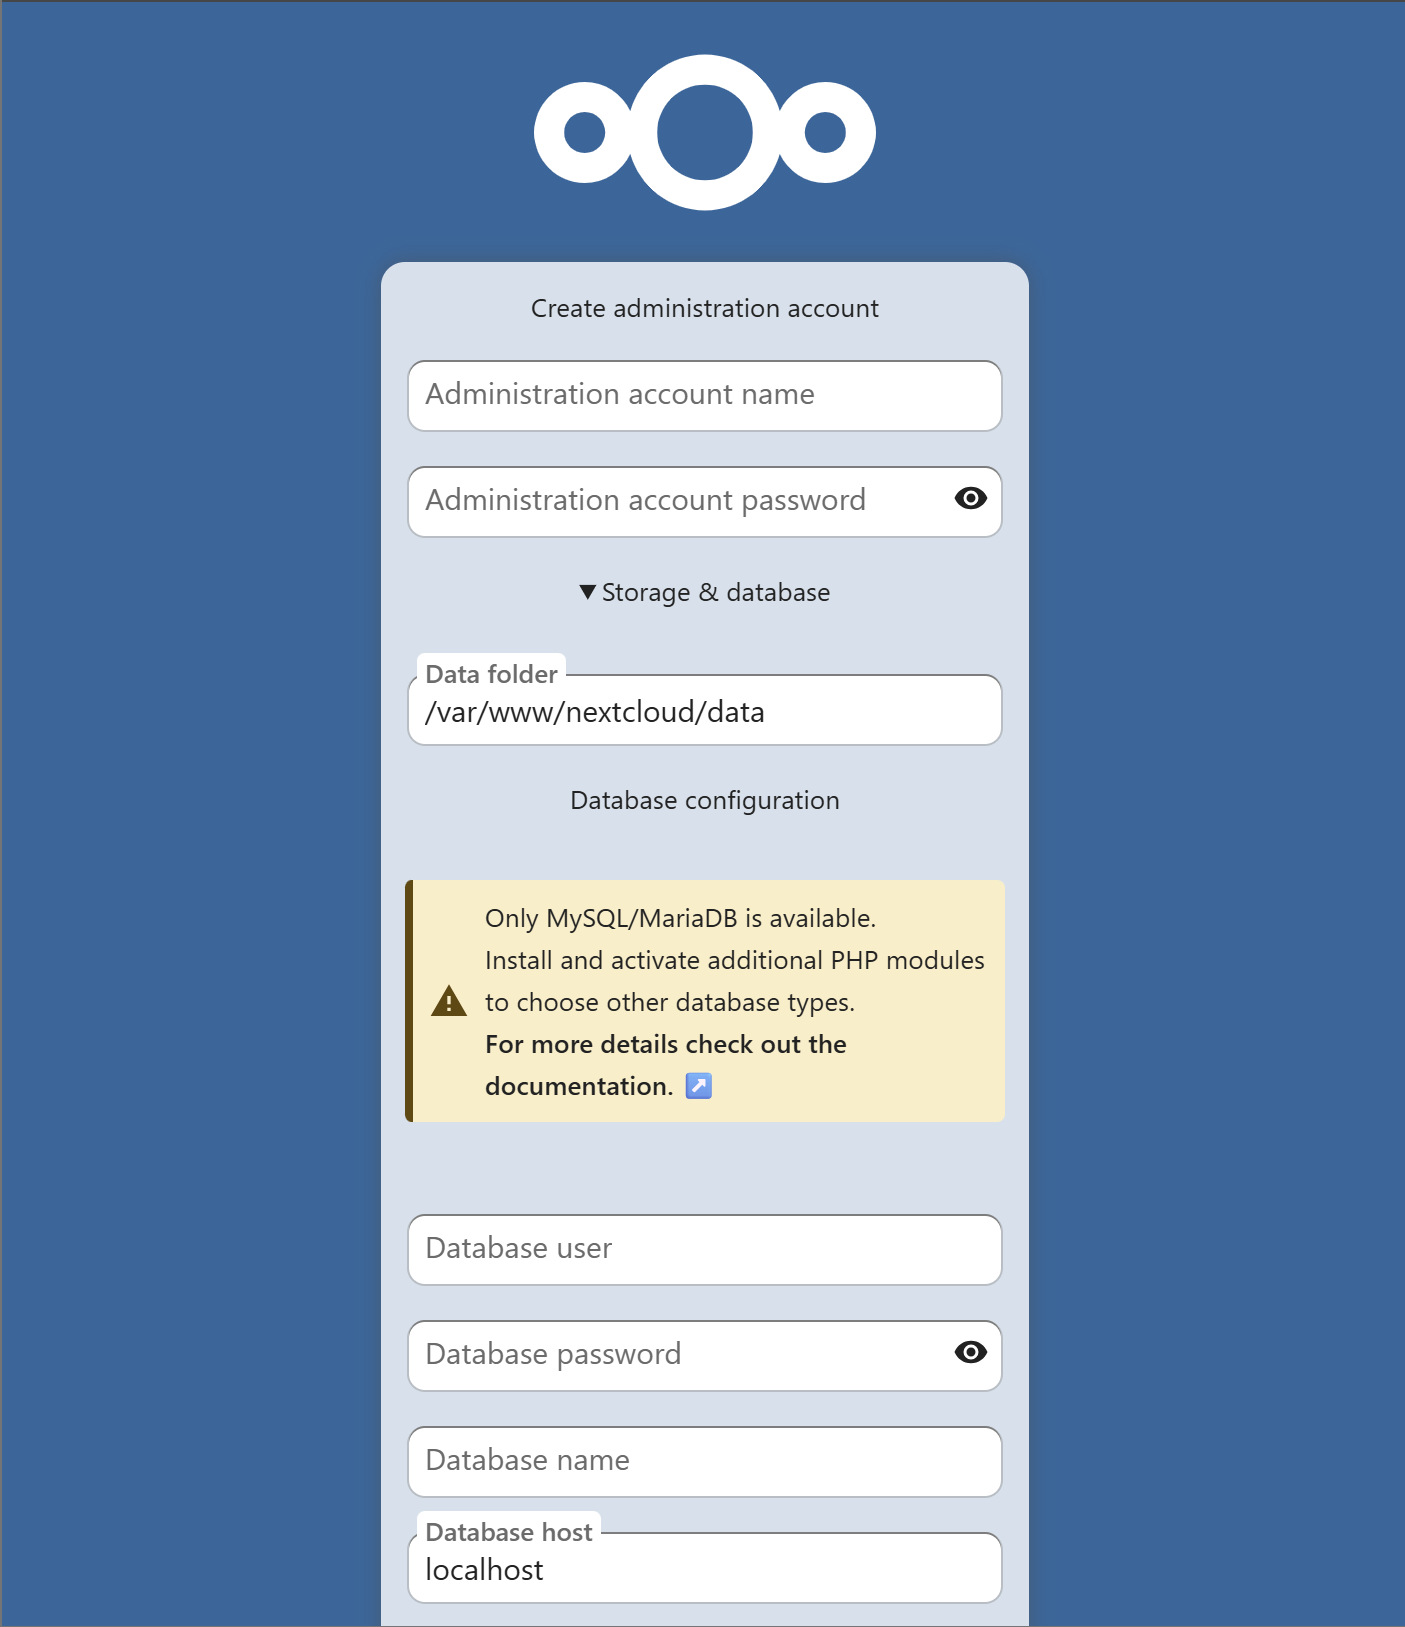
- Fill in database credentials
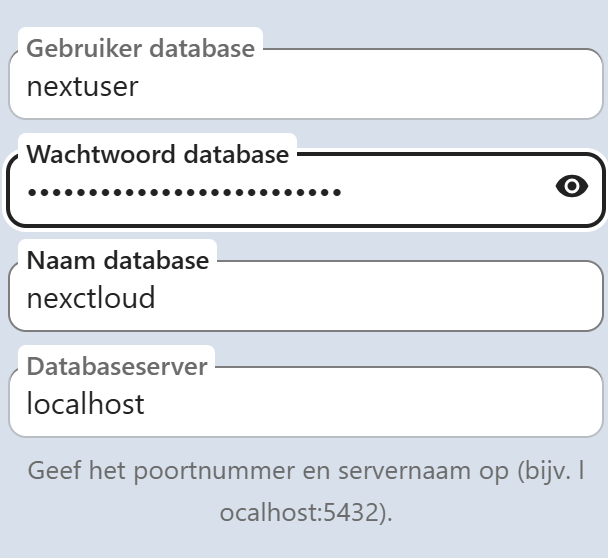
Nextcloud needs a connection to MariaDB. Therefore, enter the information when configuring the database. For example, if you haven’t changed anything:
- Choose apps
After installing Nextcloud, apps will be recommended. Select the apps you want to use.
- Making your site HTTPS
All data and passwords you transmit are unencrypted. This means others can see what you upload or the password you use to log in. This must be avoided at all costs. Therefore, we’re adding a certificate to our domain that’s linked to our IP address. Don’t have a domain? Request one for free from DuckDNS!
- Install Certbot
We need Cerbot to give our site a certificate. Run
sudo apt install certbot python3-certbot-nginxto install it. - Run Certbot
Next, use
sudo certbot --nginx -d cloud.example.comto get a certificate. You might bump into an error like:Could not automatically find a matching server block for nextcloud.example.com. Set the server_name directive to use the Nginx installer.Make sure to changeserver_namein your Nginx configuration to the right domain! - Revisit your site
If you visit your site again, you should see that it’s encrypted! However, Nextcloud isn’t configured to use your domain…
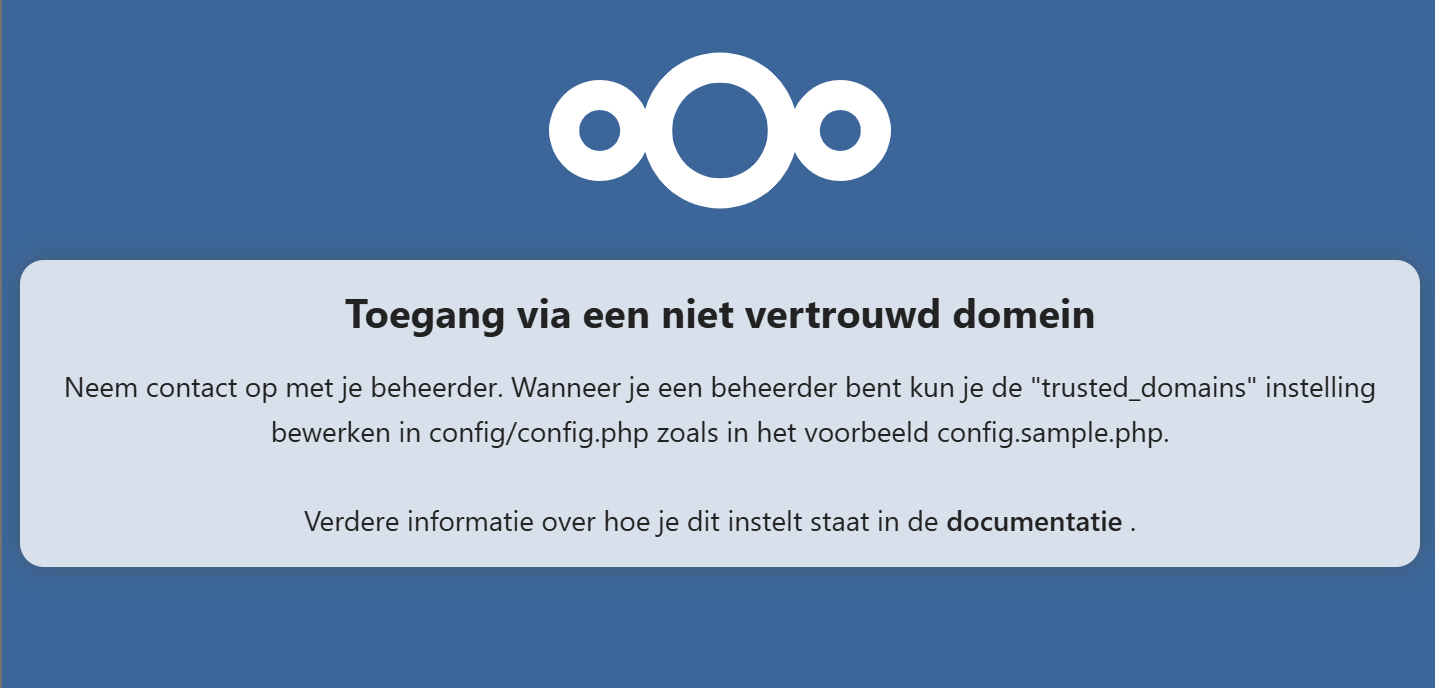
- Allowing your URL
We need to configure the URL in the configuration file of Nextcloud. Run
sudo nano /var/www/nextcloud/config/config.phpand search for:'trusted_domains' =>
array (
0 => 'localhost',
),
Here, add your domain! Example: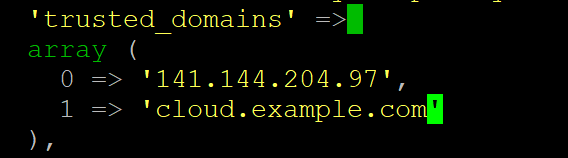
We’ve now successfully installed Nextcloud on our Linux server! You can now start installing new apps to expand Nextcloud’s functionality. I also highly recommend installing the Nextcloud app on your phone and computer so all your devices are connected!
server {
    listen 80;
    listen [::]:80;
    server_name nextcloud.example.com; #CHANGE THIS TO YOUR DOMAIN


    # Add headers to serve security related headers
    add_header X-Content-Type-Options nosniff;
    add_header X-XSS-Protection "1; mode=block";
    add_header X-Robots-Tag none;
    add_header X-Download-Options noopen;
    add_header X-Permitted-Cross-Domain-Policies none;
    add_header Referrer-Policy no-referrer;


    #I found this header is needed on Ubuntu, but not on Arch Linux.
    add_header X-Frame-Options "SAMEORIGIN";


    # Path to the root of your installation
    root /var/www/nextcloud/;


    access_log /var/log/nginx/nextcloud.access;
    error_log /var/log/nginx/nextcloud.error;


    location = /robots.txt {
        allow all;
        log_not_found off;
        access_log off;
    }


    # The following 2 rules are only needed for the user_webfinger app.
    # Uncomment it if you're planning to use this app.
    #rewrite ^/.well-known/host-meta /public.php?service=host-meta last;
    #rewrite ^/.well-known/host-meta.json /public.php?service=host-meta-json
    # last;


    location = /.well-known/carddav {
        return 301 $scheme://$host/remote.php/dav;
    }
    location = /.well-known/caldav {
       return 301 $scheme://$host/remote.php/dav;
    }


    location ~ /.well-known/acme-challenge {
      allow all;
    }


    # set max upload size
    client_max_body_size 512M;
    fastcgi_buffers 64 4K;


    # Disable gzip to avoid the removal of the ETag header
    gzip off;


    # Uncomment if your server is build with the ngx_pagespeed module
    # This module is currently not supported.
    #pagespeed off;


    error_page 403 /core/templates/403.php;
    error_page 404 /core/templates/404.php;


    location / {
       rewrite ^ /index.php;
    }


    location ~ ^/(?:build|tests|config|lib|3rdparty|templates|data)/ {
       deny all;
    }
    location ~ ^/(?:\.|autotest|occ|issue|indie|db_|console) {
       deny all;
     }


    location ~ ^/(?:index|remote|public|cron|core/ajax/update|status|ocs/v[12]|updater/.+|ocs-provider/.+|core/templates/40[34])\.php(?:$|/) {
       include fastcgi_params;
       fastcgi_split_path_info ^(.+\.php)(/.*)$;
       try_files $fastcgi_script_name =404;
       fastcgi_param SCRIPT_FILENAME $document_root$fastcgi_script_name;
       fastcgi_param PATH_INFO $fastcgi_path_info;
       #Avoid sending the security headers twice
       fastcgi_param modHeadersAvailable true;
       fastcgi_param front_controller_active true;
       fastcgi_pass unix:/run/php/php8.3-fpm.sock;
       fastcgi_intercept_errors on;
       fastcgi_request_buffering off;
    }


    location ~ ^/(?:updater|ocs-provider)(?:$|/) {
       try_files $uri/ =404;
       index index.php;
    }


    # Adding the cache control header for js and css files
    # Make sure it is BELOW the PHP block
    location ~* \.(?:css|js)$ {
        try_files $uri /index.php$uri$is_args$args;
        add_header Cache-Control "public, max-age=7200";
        # Add headers to serve security related headers (It is intended to
        # have those duplicated to the ones above)
        add_header X-Content-Type-Options nosniff;
        add_header X-XSS-Protection "1; mode=block";
        add_header X-Robots-Tag none;
        add_header X-Download-Options noopen;
        add_header X-Permitted-Cross-Domain-Policies none;
        add_header Referrer-Policy no-referrer;
        # Optional: Don't log access to assets
        access_log off;
   }


   location ~* \.(?:svg|gif|png|html|ttf|woff|ico|jpg|jpeg)$ {
        try_files $uri /index.php$uri$is_args$args;
        # Optional: Don't log access to other assets
        access_log off;
   }
}Nginx is a program specifically designed to host websites on Linux servers.
MariaDB is an open-source database program based upon MySQL. They are the default choice for Linux servers.
This is a user account specifically for websites hosted on Linux. If one of your websites is hacked, other services running on your computer will not be affected. We can also grant permission to unknown individuals to access files on our server through a browser.
Certificates gives your server a certain “official status”, so hackers can’t trick you into using their website (and stealing your credentials). If you’d like to go more in depth, watch this video!
Certbot is an opensource project focused on giving free certificates for your website. The certificates come from Let’s Encrypt, a certificate authority.
Sad to hear, many people tried this tutorial before you without issues. If you’re stuck, you could always use AI to figure out a certain bug together.
Leave a Reply